Showing posts with label easter. Show all posts

Sunday, April 8, 2012

What we left for the Easter Bunny...

I thought it would be fun to leave something for the Easter Bunny just as we had done for Santa.

So this is what we left him...


And this is what it looked like this morning...my little one was SO excited he "ATE THEM"!!


My mom made these cute bunny baskets with her Kindergarten class and shared the template with me.  If I knew where she got the template from, I would love to give credit here, but unfortunately...she has been doing this for the last 20+ and does not remember...

We started out by decorating our bunny...with crayons for coloring and stickers.

I cut out the template and put it together - it is basically a square with a bunny head on the top.  It wouldn't be too difficult to replicate freehand.  Or this tutorial I found is almost identical.


We added two (googly) eyes, whiskers (a folded pipe cleaner) and a nose (pom pom).  

Inside I added some "green grass" and then some of our yummy Cookies (a huge Thank you to Lizy B - that really is the BEST royal frosting recipe I have found!).


I think the Easter Bunny LOVED it:)

Happy Easter to all!!!

Share

Sunday, April 1, 2012

More Easter Prep

This week we have been working on so many Easter crafts that we really weren't able to do all the things I wanted to for our letter of the week - J.  So instead, we are just going to continue into next week.  Will be back next week to share our activities:)

Here are two other simple and quick things we did to prepare for Easter that I wanted to share.

Make do with what you already have

The first spring that I had my own place (after college) I had bought a spring wreath for my front door - at Michael's with a 40% off coupon.  I wanted to make it a little more "Easter-ish", so I decided to add some plastic eggs to it. 


Not bad.  It saves me from having to buy (and worst part - store) ANOTHER wreath for my front door.  After Easter I will just take down the eggs and it can remain for another month or so!

Handprint Chick Card

My little peanut is the first (and only, right now) grandchild on both sides and she also has 5 (?!?!) great-grandparents still alive!!  Amazing!  

That being said, I love to give them all something special and handmade - especially around the holidays.

I already shared the Handprint Flowers that we made.  Well, of course, we needed a card to go with it!! I saw this on pinterest and knew it would make a cute card.  


It was pretty simple.

Folded over a piece of white construction paper.  

Cut out a circle and then two handprints from yellow construction paper.


Added googly eyes and details with an orange marker.

Here are the final products ready to give away!  
{I need to get these out of my house so that I stop eating all of the chocolate!!!}


Share

Saturday, March 31, 2012

Handprint Flowers

Last week we shared our Hand Print Flower Bouquet over at Mess for Less.  In case you missed it, we wanted to share it with you before Easter!!


Here is what we did.

Materials
Vase
Green Grass
Candy
Paint
Green Pipe Cleaners
Construction Paper
A favorite little pair of hands:)


When we use paint, I usually set it up like this.


I started out by painting my little ones hands with one color at a time.


I helped her to press them down on the paper.


We did this a few times (one for each "flower") and once the paint was dry, I cut out all of the hand prints.


Since each hand print need an exact match for the back of the flower, I traced each one on matching construction paper.


I put glue on the back of the plain print and then the green pipe cleaner on top. 


Then second hand print went on the top.  This is how it looked in the end. 


Next I filled the vase with green grass and some Easter candy - Hershey Kisses:)


Lastly, I placed each of the hand print "flowers" in the vase and topped it off with some more candy.


Share

Thursday, March 29, 2012

My Peeps Garland

I LOVE Peeps!!  I think they are so cute!

When I came across this post by Dana over at Made, I knew that I had to try it out!!

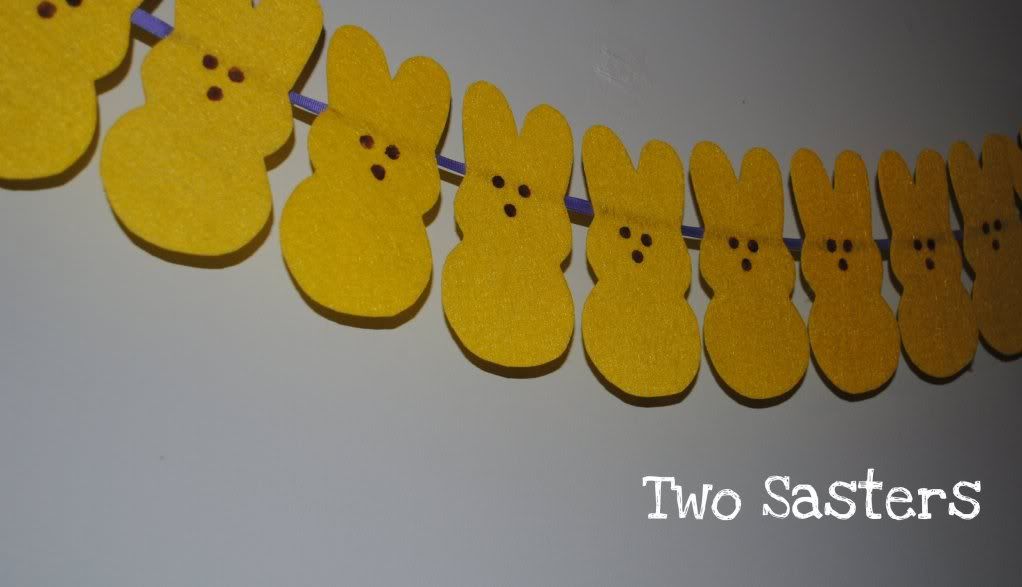
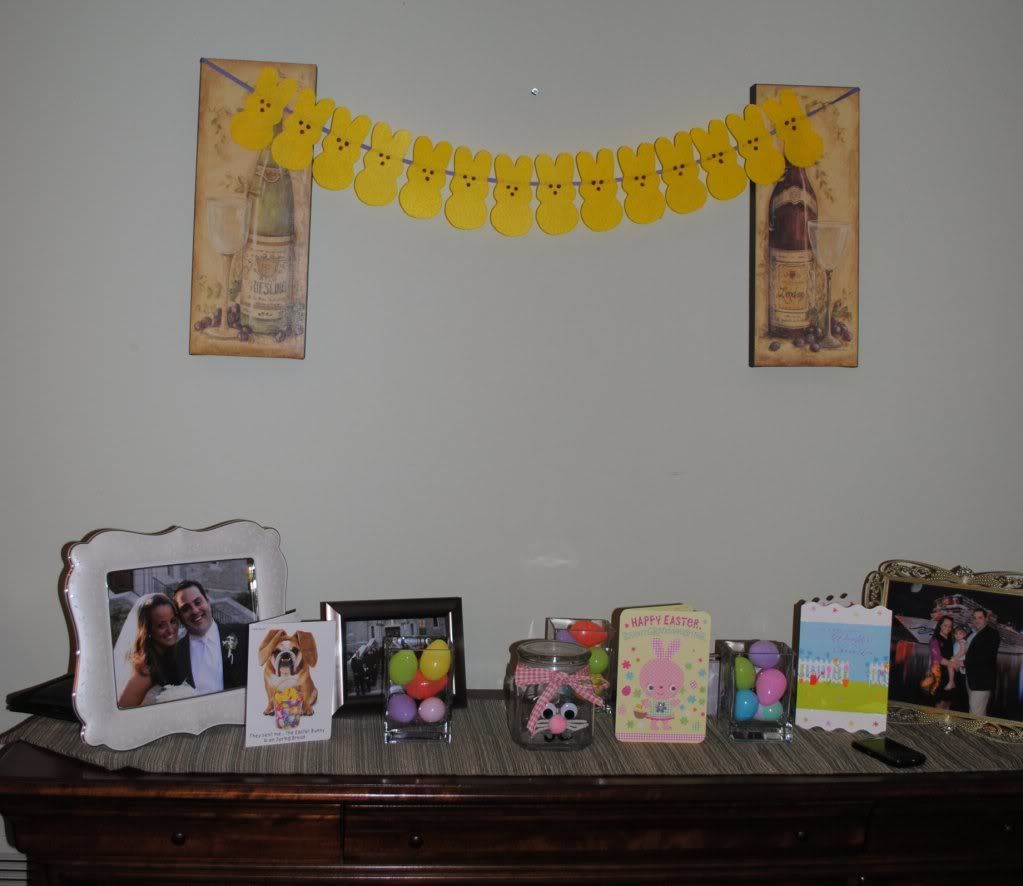
Here is how my version turned out.


Here is how I did it (I made a few tweaks to Dana's tutorial):

Materials:

Yellow Felt 
Brown Paint
Pencil
Ribbon
Glue gun

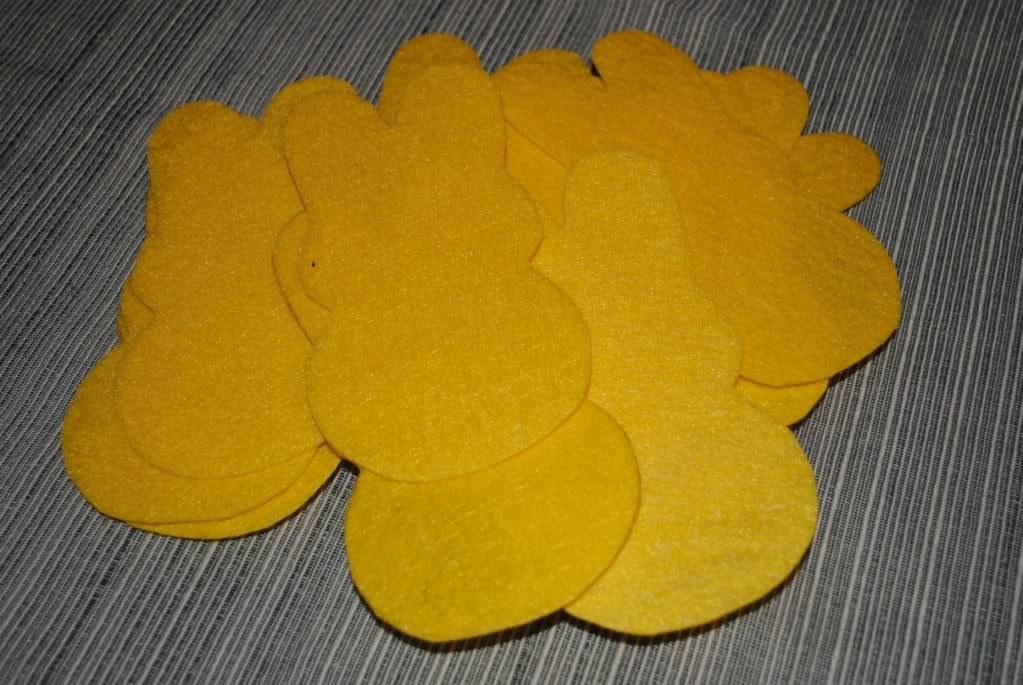
Step 1:  Trace peep template onto felt.  I was able to get 6 out of an 8x10 sheet.


Step 2: Cut out all of your peeps.  {Note:  Dana used two cut outs for each of her peeps and sewed them together.  I didn't have much time, so I bought thicker felt at Michael's and skipped the sewing part}


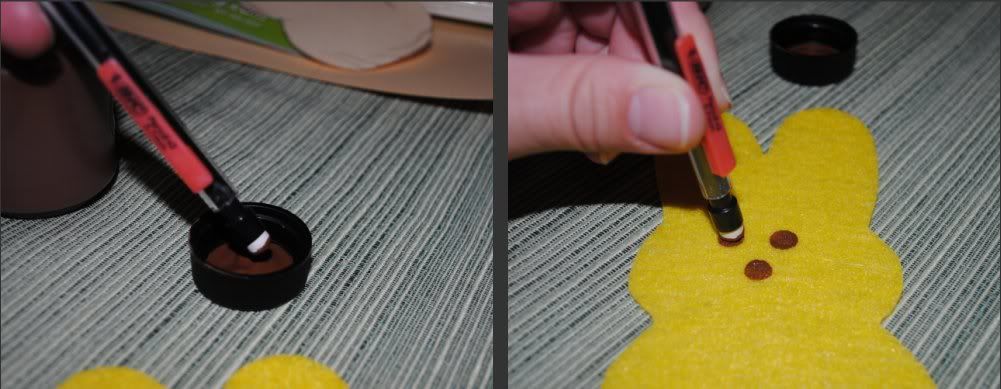
Step 3:  Using a pencil eraser, dip into brown paint (I used my daughter's crayola paint) and add two eyes and a nose to your peep.


Step 4:  After paint has dried, using a glue gun, glue felt peeps to ribbon of choice.  {Again, Dana sewed her peeps onto her string - but I didn't have the time to do that - I cheated and used glue; but they are still hanging up just fine!}


From afar...


I had a few peeps left over...so I added them onto my little ones Felt Easter Basket!  She loved them!


Share

Tuesday, March 27, 2012

Toddler Felt Easter Basket

As you might already be able to tell...we really like playing with felt:)

During Christmas time, the felt tree I made my little one was a HUGE hit!  She loved putting the ornaments on and off and counting them!

Being that Easter is around the corner, I thought it might be nice to make her a felt Easter Basket.  Well...she LOVED it.


She spent a long time counting all of the eggs, putting them on and off the basket and saying each of the colors.

Here is what I did.

I cut out the basket, grass and handle out of green and brown felt.  I drew on the basket with a Sharpie marker to make it look a little more "realistic" (if that is possible when using felt).


I used my hot glue gun to put all of the pieces together and hung it up on one of my walls with Poster Putty (memories from my college dorm room..ha!).


My little one then took over.  She started to decorate herself.


I might cut the eggs down a little so that we can fit more.  And I will also add a bow to the top.  But as it is my little one LOVES it!

Share
Related Posts Plugin for WordPress, Blogger...