Showing posts with label diy. Show all posts

Tuesday, June 26, 2012

Techy Tips - How to make Custom Headers for your Side Bar

It's Tuesday - time for more Techy Tips:)


Want to spice up your side bar?  Let's make some headers!!


To start off, create a blank white slate which we talked about last week here.

Next, you will need to resize.  My sidebar headers are 250 wide by 50 tall, but you can customize to your own blogs size.


Be creative and using various fonts and pictures make a nice side bar header!


You will now need to save your newly created header image - I use Photobucket.


I like Photobucket because obtaining the HTML code is so simple!


Copy the HTML code.  In Photobucket, all you have to do is click on the code and it is automatically copied!  Like I said...simple!

Head back over to your blog's dashboard.  Under Layout, select "Add a Gadget".


In the Gadgets menu, select HTML.


Paste your code (a control-V will do the trick) and save.


Sit back, admire...and then make a few more!!
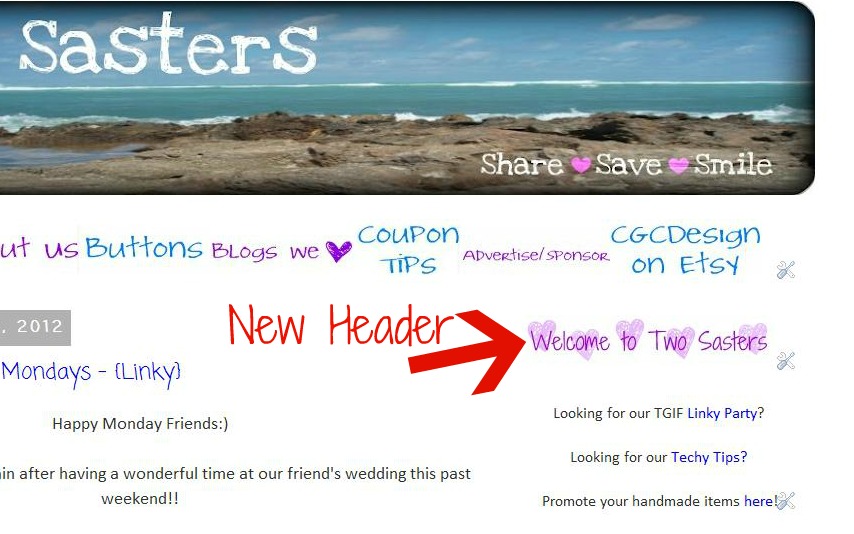

Hopefully that inspired you to pretty up your blog!  If you need any help, just ask!!

Note:  For the headers on my side bar, I started out with digital scrapbook paper {which I hate to say I downloaded forever ago and I cannot recall where - once I find I will definitely add the source here} instead of the blank white image.


Linking up to these great parties:)
Share

Thursday, May 17, 2012

Personalized Engagement Gift

A few weeks ago when my brother-in-law proposed to his girlfriend {YAY!!!}, I knew I wanted to find something cute for their engagement!  I searched around and ended up finding this on Etsy, which I used as my inspiration.

This is what I ended up with.


Want to make one yourself?  Here is what I did.

Supplies:
I bought these scrapbooking frames {not sure if that is the official name} and scrapbook paper at Michael's and already had a heart paper puncher.  I also used pages from one of my old textbooks that I was not able to sell online:)


Step 1: Cut background paper to size.  I used glitter scrapbook paper as my background. 

Step 2:  Punch out various hearts.  I used three red hearts {scrapbook paper} for each of their names and the date they got engaged.  I needed an additional 9 hearts from my text book.  Note thou that you can change up the rows and columns depending on the size of your frame.

Step 3:  Add the hearts to the background paper.  I used photo dots {found in the scrapbooking section} since I had some leftover from my scrapbooking days...


Since that same week also happened to be my sisters anniversary...I made her one too:)


A big CONGRATS to Suze and Marco!!  Can't wait to have a SIL:)

Linking up to these great parties:)
Share
Related Posts Plugin for WordPress, Blogger...